
Now you know

What is a tethered jailbreak? Basically, it is a one boot jailbreak. Limitations in the newer Apple touch devices prevent the full, traditional jailbreak that we know and love. With a tethered jailbreak, you have to re-jailbreak every time you restart your device. The easy way to avoid this, is just don’t off your device, but there are times when the device will crash, or reboot on it’s own. If you’re away from your computer when this happens, this can be really annoying, especially for those who rely on unlocking their iPhones to use them. The iDongle will allow you to re-jailbreak, on the go, so you never have to worry about crashes or reboots again.
So how does it work? Here’s some details from their blog:
Here’s some notes from their FAQ:

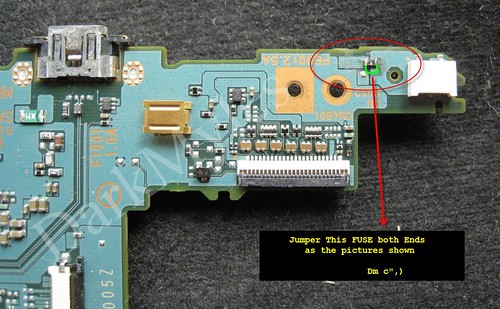
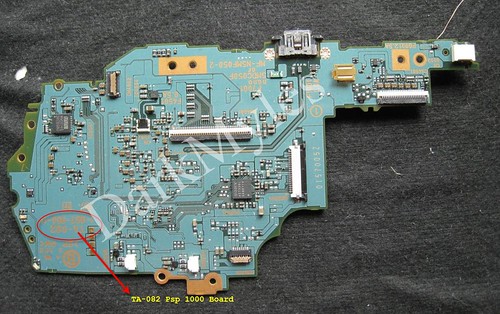 The main Board of PSP 1000
 On the right side glue your led up under the R button and run your wires next to your other wires for the right side down to the area right above the headphone jack (see picture).
 Then connect the positive power cord to the hole in the picture. If you look on the other side it is the power source to the origonal led before the resistor. The negitive needs to be connected to a negitive spot there are many on the board I choose the one next to the R button. Also watch the power switch when you put your system back together so you dont break it like I did.
 The Finished Product
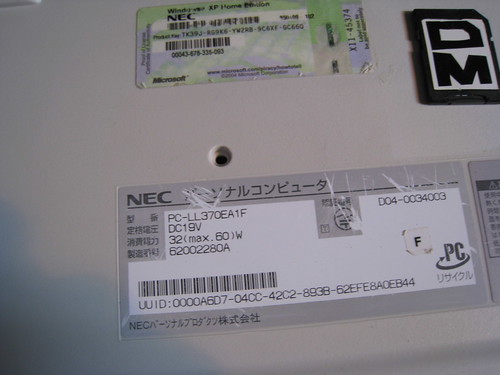 Back label
 The Lcd Cover
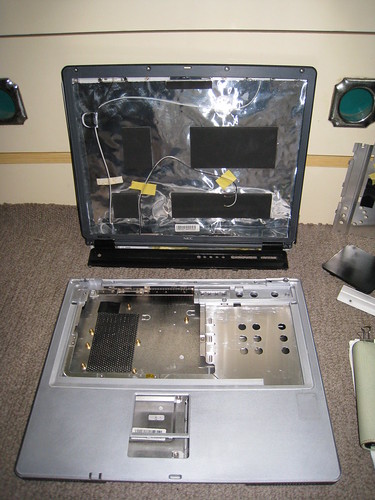
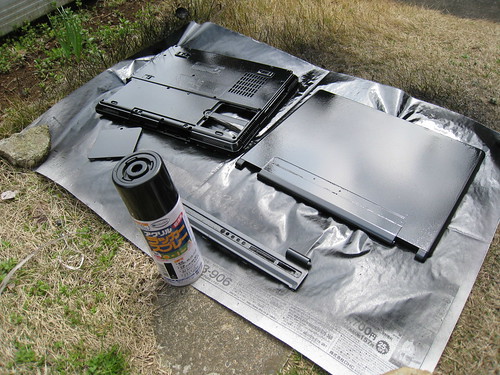
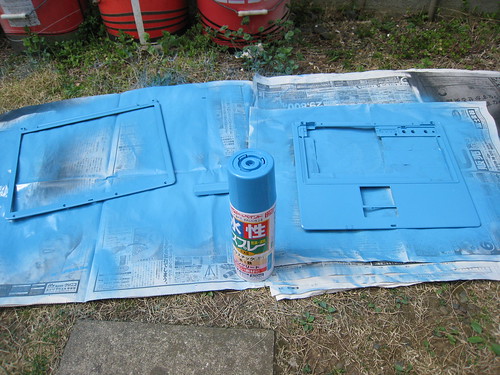 Lets Spray Again
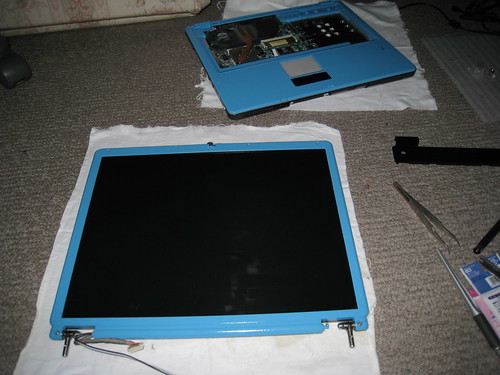
 Simply Finish
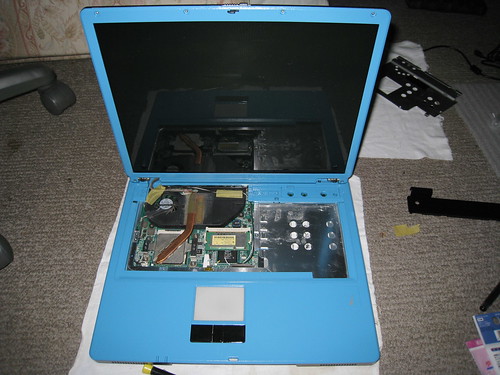
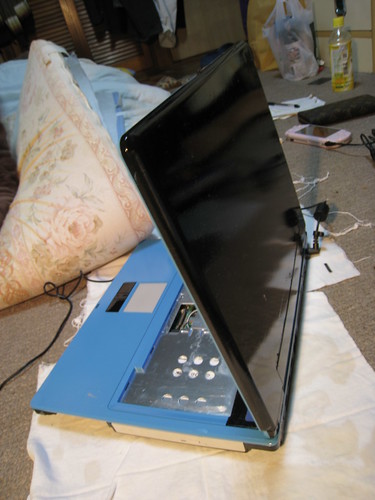
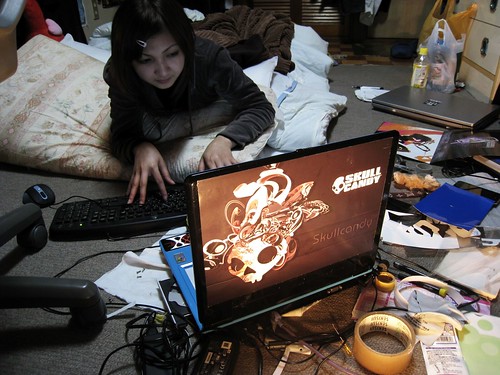 My Mami want to test my new mods

